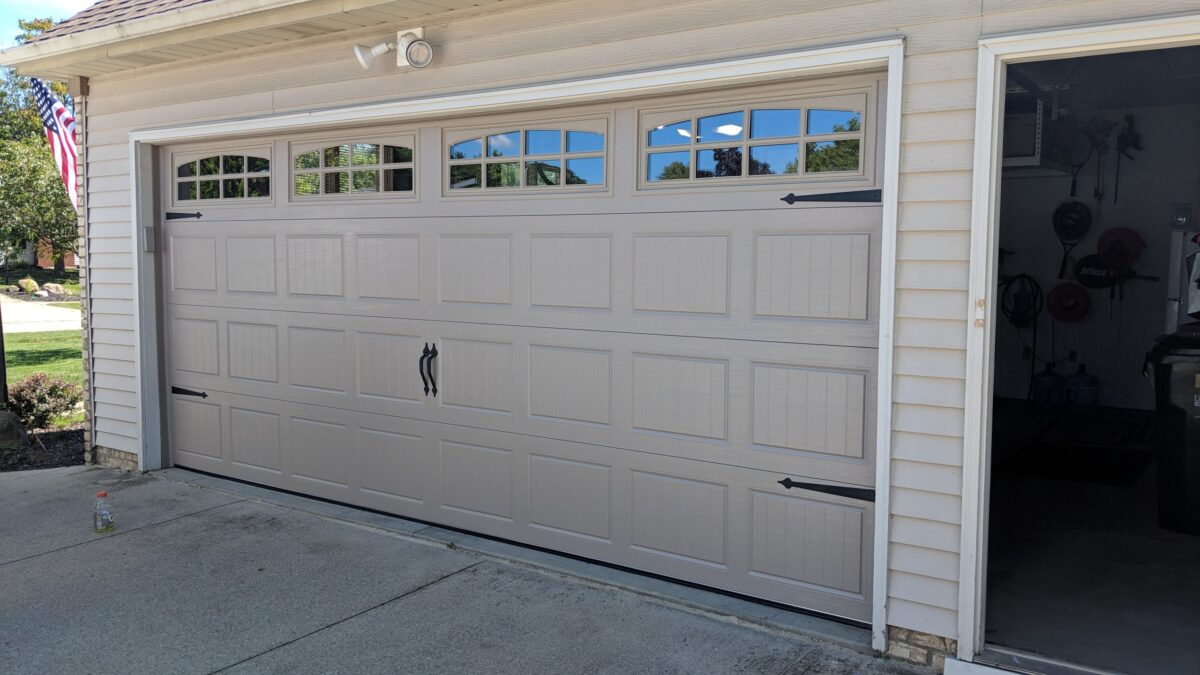
The great news is that numerous typical garage door problems are resolved with some troubleshooting. Before contacting experts, consider trying some straightforward DIY garage door repair methods that could promptly restore your door to working order.
Inspect the Hardware
The initial step in any DIY garage door repair involves conducting a comprehensive visual check of the entire system. Search for any hardware that appears loose, damaged, or worn out, including:
- Screws, bolts, and nuts – Check that all fasteners are tight and secure. Use a wrench or socket set to tighten any that are loose.
- Rollers and hinges – Examine the rollers, hinges, and pivots for signs of wear or damage. Replace any components that are cracked, bent, or difficult to move.
- Cables and pulleys – Ensure the cables that lift the door are in good condition and the pulleys turn freely.
- Springs – Inspect the torsion springs for signs of rust, wear, or sagging.
Lubricate moving parts
Proper lubrication is essential for keeping your garage door’s moving parts operating smoothly. Use a silicone-based lubricant or garage door-specific spray to:
- Lubricate the rollers, hinges, and pivots.
- Apply lubricant to the opener’s chain, screw, or belt.
- Coat the torsion springs to prevent rust and squeaks.
Avoid heavy grease, which attracts dirt and grime, causing more problems. A light, penetrating lubricant is all you need.
Adjust the opener
Many garage door issues stem from problems with the opener itself. Start by checking the safety sensors – these photoelectric eyes should be mounted a few inches off the ground and aligned so the beam of light passes unobstructed between them. Next, examine the opener’s limit and force settings. The limit settings control how far the door opens and closes, while the force settings determine the power required to move the door. Consult your owner’s manual and make any necessary adjustments to these settings. You may need to reset the system if your opener is malfunctioning or not responding to the remote. Refer to the manufacturer’s instructions for the proper reset procedure.
Test the torsion springs
The torsion springs are responsible for lifting and lowering your garage door, so the door won’t operate smoothly if not functioning correctly. Here’s how to assess the springs:
- Measure the gap between the spring’s coils with the door closed. The coils should be evenly spaced.
- Carefully open the door about halfway. The springs should lift the door with minimal effort.
- If the door feels heavy or the springs seem unbalanced, you may need to adjust or replace them.
Be very cautious when working with torsion springs, as they are under extreme tension and are dangerous if improperly handled. If you need more confidence in assessing or adjusting the springs safely, it’s best to call a professional. For Garage Door Repair visit ashburngaragedoorsrepair.us.
Related posts
Recent Posts
Advertisment


Social Media