Did you know your HVAC system might already have a built-in germ fighter?
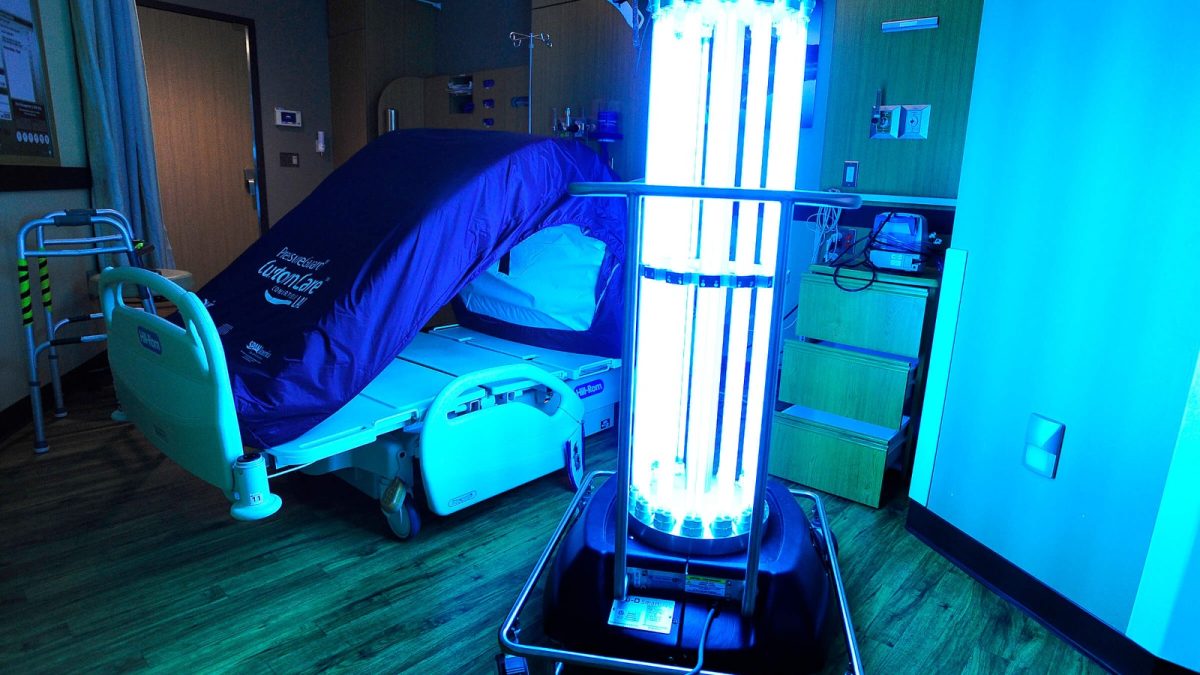
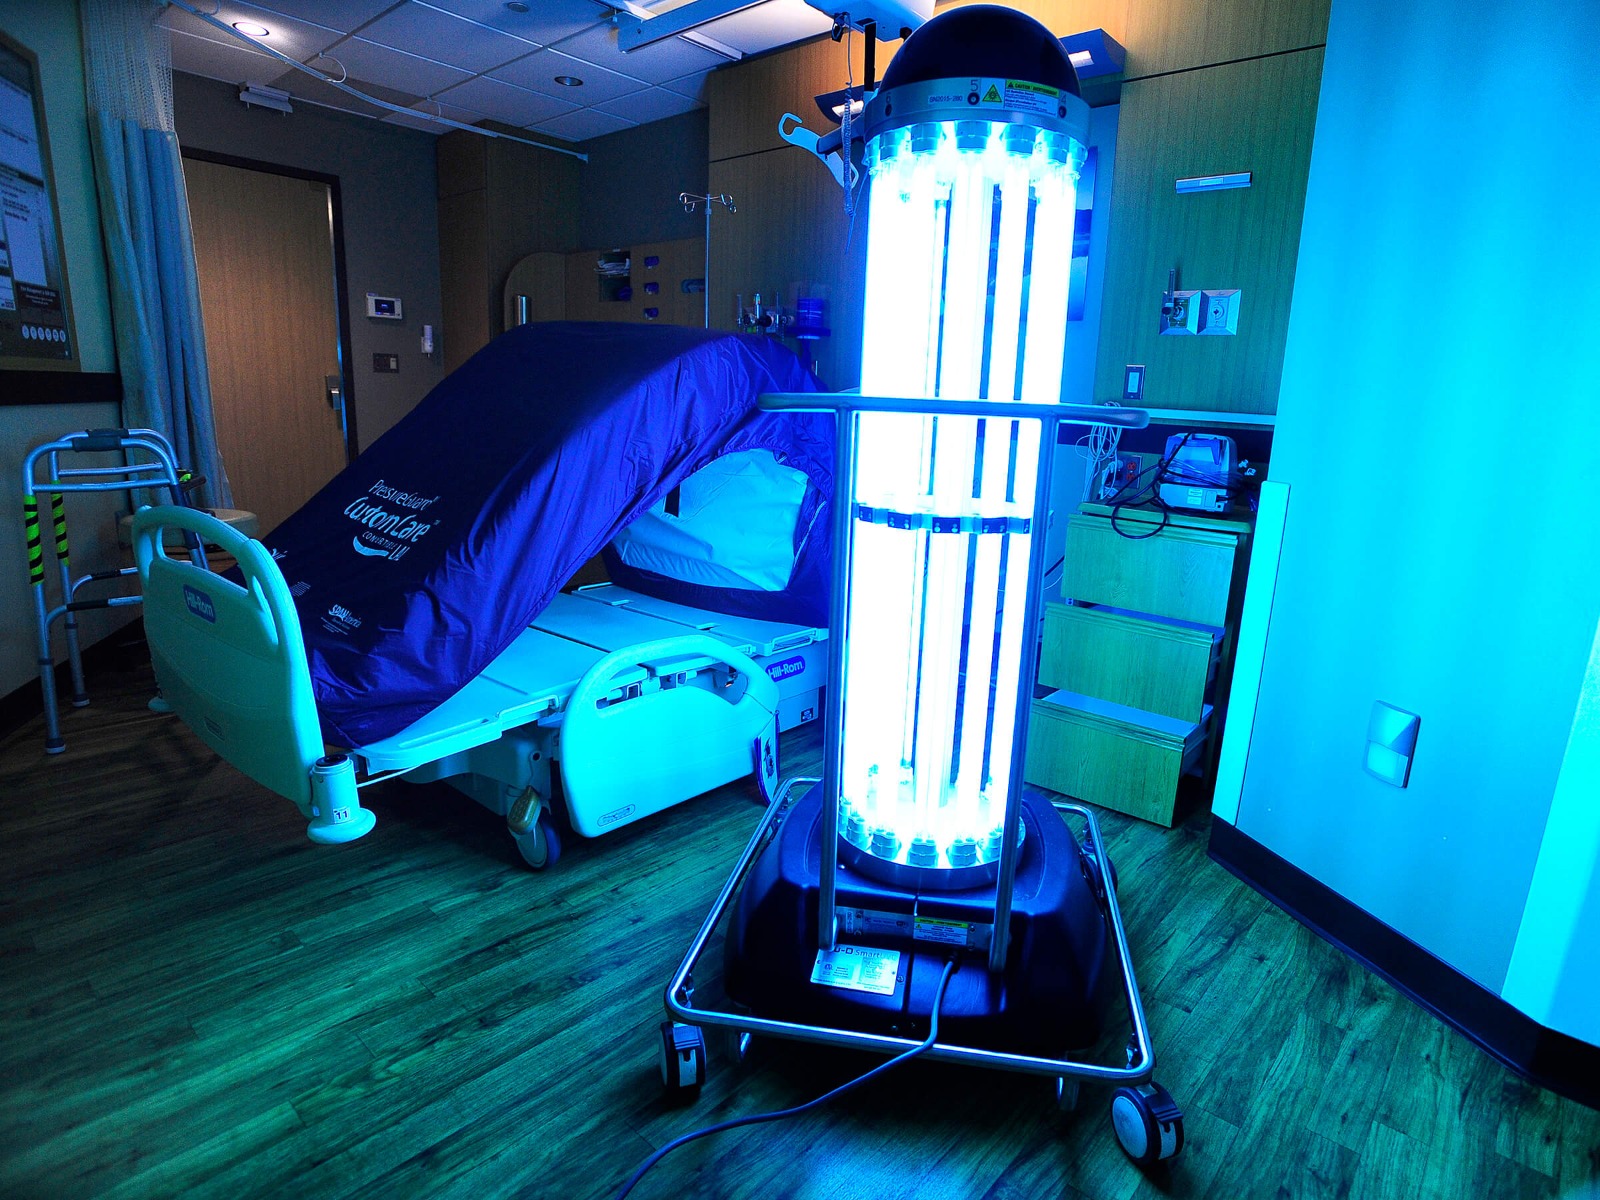
Many modern AC units come equipped with UV lights that help kill mold, bacteria, and other harmful microorganisms.
Over time, however, these bulbs lose their effectiveness, even if they are still lit. Knowing when and how to replace your UV light bulb is essential to keep your indoor air clean and your system running efficiently.
When to Replace Your UV Light Bulb
Most UV bulbs should be replaced annually, generally every 9 to 14 months or around 9,000 hours of operation.
Why so often?
UV-C bulbs gradually lose their germ-killing power over time, meaning your AC might not be providing the protection it should.
There are a few signs that indicate it’s time for a replacement:
- Indicator Light: Many UV systems have an indicator light that signals when the bulb is near the end of its lifespan.
- Declining Air Quality: If you notice increased dust, musty odors, or mold growth, your UV bulb may no longer be effective.
- Routine Schedule: Following the manufacturer’s recommended replacement schedule ensures your system continues to operate at peak performance.
Safety Precautions to Keep in Mind
Before you attempt any maintenance, safety should always come first:
- Turn Off Power: Always shut off power to your HVAC system at the breaker or switch to prevent electric shock.
- Avoid Touching the Bulb: The oils from your fingers can create hot spots on the glass, shortening the bulb’s lifespan. Always handle the bulb with a clean cloth or gloves.
- Use the Correct Bulb: Make sure you select an ozone-free UV-C replacement bulb to avoid health risks.
Step-by-Step Replacement Process
Replacing your UV light bulb is straightforward if done carefully:
- Cut Power: Turn off the HVAC system completely at the breaker or unit switch.
- Access the Bulb: Remove the access door of the UV light unit by loosening the securing screw.
- Disconnect and Remove: Unplug the wiring from the back of the old bulb and unscrew it carefully.
- Insert the New Bulb: Unpack the replacement bulb without touching the glass and screw it into place.
- Reassemble and Power On: Reattach the wiring harness, secure the access door, and turn the power back on.
- Check Indicator: Make sure the indicator light confirms the system is functioning correctly.
For professional HVAC maintenance, including UV light replacement, contact Moore Home Services, where every system is 100% Right… Or 100% Free!