
Introduction –
A refrigerator is one of a handful of the machines in your home that runs consistently, day or night, keeping your food cold. On the off chance that you consider how hard a refrigerator needs to function, it is entirely astonishing that they separate so rarely. On the interesting event your refrigerator quits working, you might confront a high repair bill and the cost of supplanting all your lost food. Have no trepidation! This article is here to let you know all that you really want to be aware of repairing your refrigerator and cooler yourself. You may be shocked to discover that freezer repair is quite simple, requiring just a little information about the machine and a little persistence. How about we begin with some fundamental data.
Important Parts of Fridge –
Refrigerators and coolers comprise of two essential parts: a condenser curl and an evaporator loop. A fluid coolant is coursed through these curls by a blower and an engine. The refrigerant fluid is cooled in the condenser; it then streams to the evaporator. At the evaporator, the air in the unit is cooled by contact with the fluid filled loop. The condenser of a refrigerator or cooler is the loop outwardly of the unit; the evaporator is the curl within. The coolant is circled through the framework by a blower. Most refrigerators and coolers are sans ice. In this sort of unit, a warmer is consequently turned on by a clock to dissolve the ice inside the unit. Ice is softened by the warmer at a few distinct spots in the unit, beginning with the coldest and most iced regions. At the point when the ice is totally dissolved, the indoor regulator naturally changes to a cooling cycle to keep up with the standard frigid temperature. Since this interaction is programmed, ice doesn’t develop inside the crate.
DIY Testing –
The unit’s blower framework, which powers the coolant through the curl framework, is driven by a capacitor-type engine. Other fundamental pieces of the cooling/thawing out framework incorporate switches, indoor regulators, warmers, condensers, and fans. A do-it-yourself can test and supplant large numbers of these refrigerator parts. Nonetheless, there are special cases, as made sense of later, that are best passed on to an expert repair individual. Alert: Prior to accomplishing any work on a refrigerator or cooler, ensure it’s turned off. In the wake of turning off the unit, verify whether the engine/blower has a capacitor; this part is situated in a lodging on the highest point of the engine. Capacitors store power, in any event, when the capacity to the unit is switched off. Before you accomplish any work on a capacitor-type refrigerator or cooler, you should release the capacitor, or you could get an extreme shock.
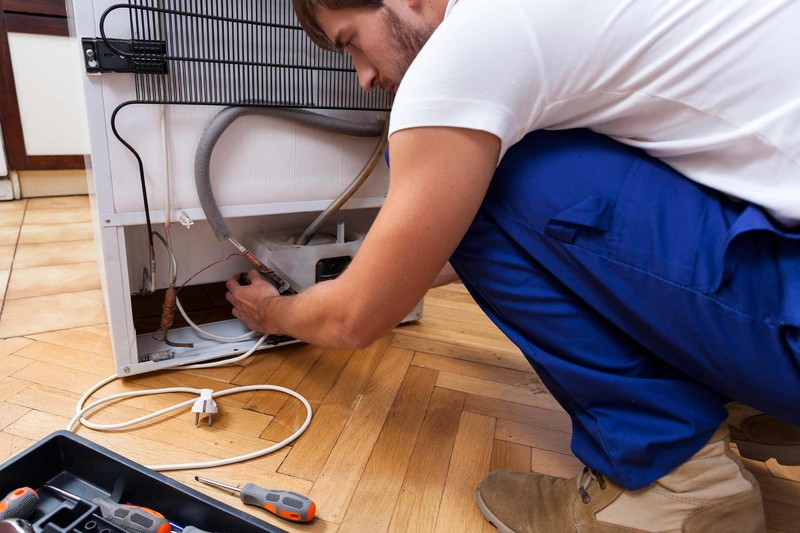
Some Steps to Follow –
To get close enough to the capacitor, eliminate the help board over the back part of the unit or the assistance board on the facade of the unit beneath the entryway, as definite later for dismantling. The capacitor is situated in a lodging on the highest point of the engine/blower unit; it seems to be a huge dry cell battery. To release the capacitor, utilize a 20,000-ohm, 2-watt resistor – – a modest wire unit that anyone could hope to find all things considered electrical inventory stores. Secure the tests of the resistor to the terminals of the capacitor; this releases the capacitor. Assuming the capacitor has three terminal posts, associate the resistor to one external terminal and the middle terminal, then, at that point, to the next external terminal and the middle terminal. Subsequent to releasing the capacitor, you can continue with the repairs.